Security
Security menu
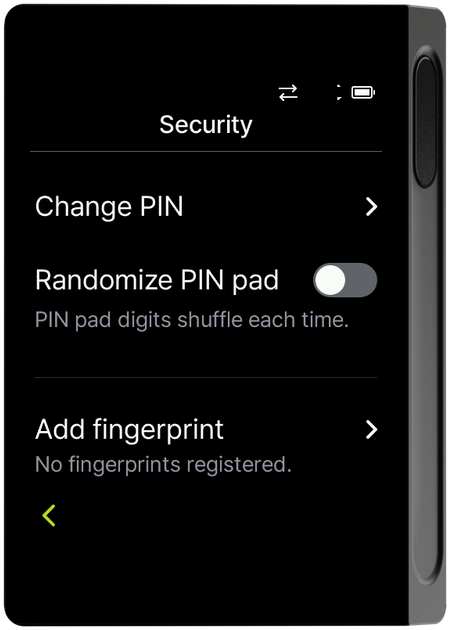
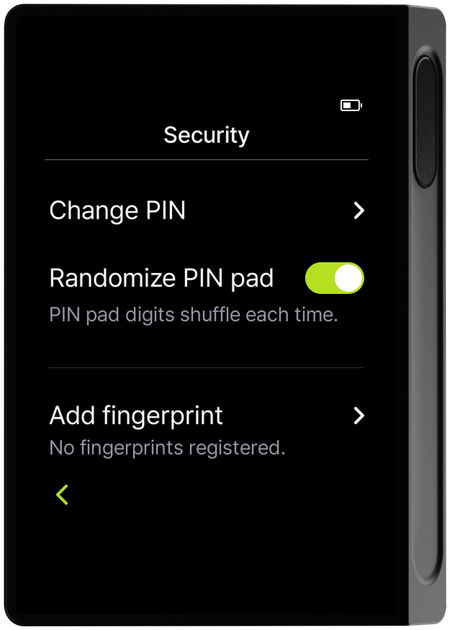
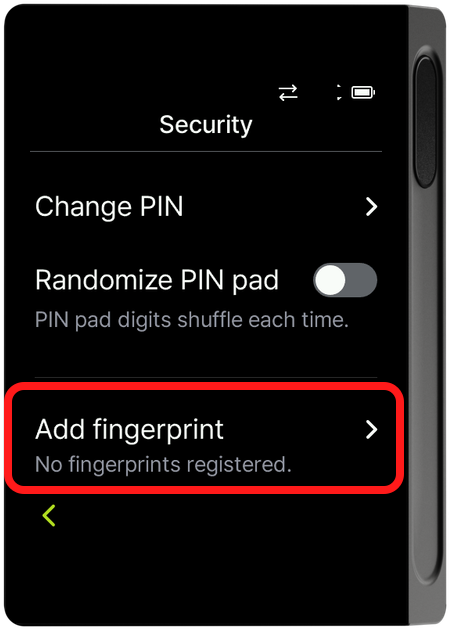
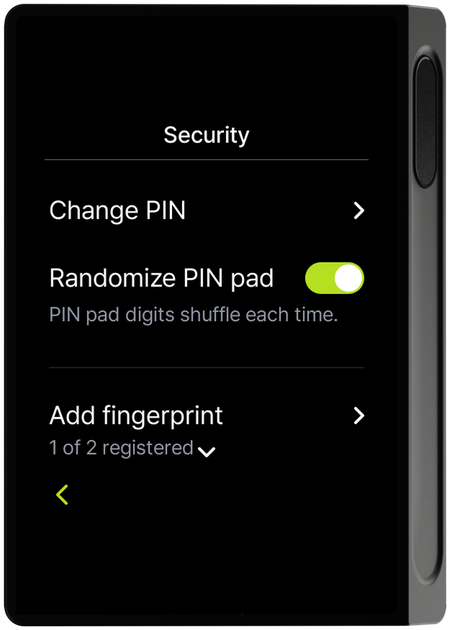
In the Security menu you can set up Change PIN, Randomize PIN pad, Add fingerprint, and Delete fingerprint.
Change PIN
Select Change PIN in the Security menu.
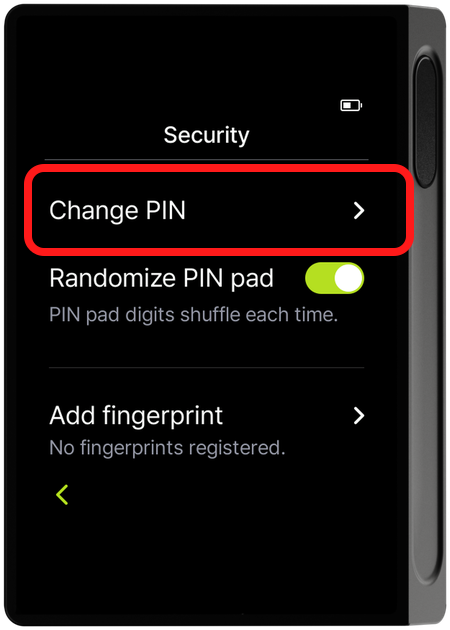
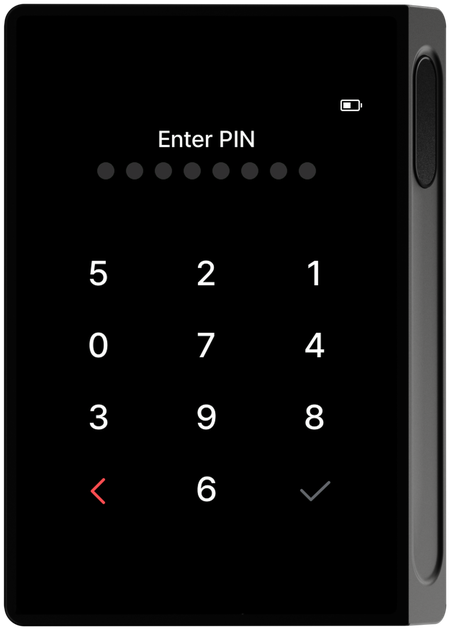
Step 1 — Enter your current PIN
Select Change PIN and enter your current PIN.
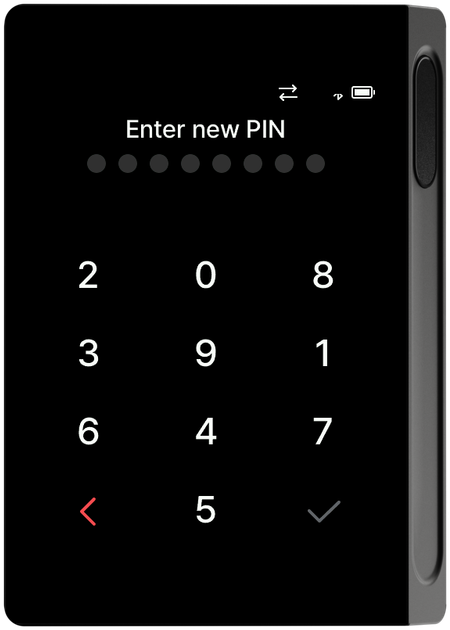
Step 2 — Enter your new PIN
Enter the new PIN you want to use.
Step 3 — Re-enter your new PIN
Enter the same new PIN once more to confirm it matches. If the two PINs do not match, enter it again from the start.
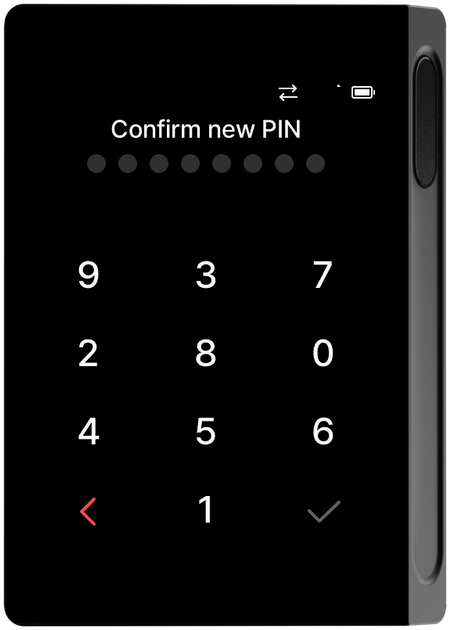
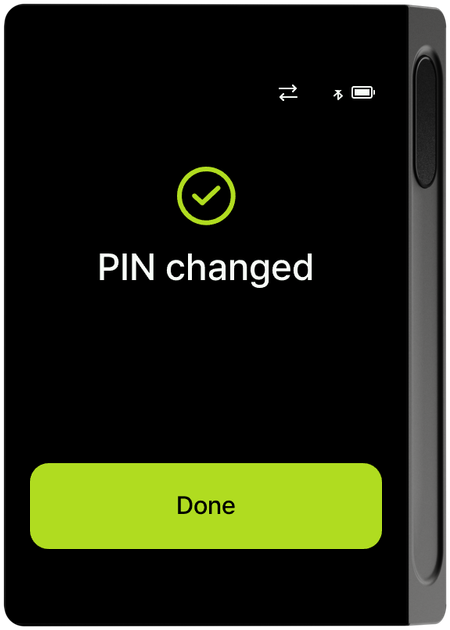
Step 4 — Change complete
The "PIN changed" screen appears. Tap "Done" to return to the Security menu.
Randomize PIN pad
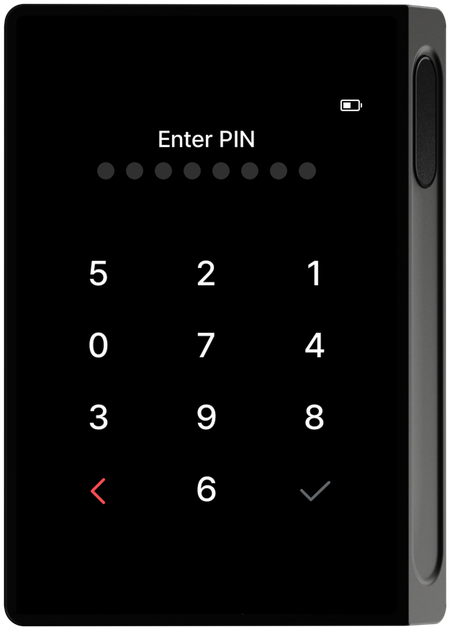
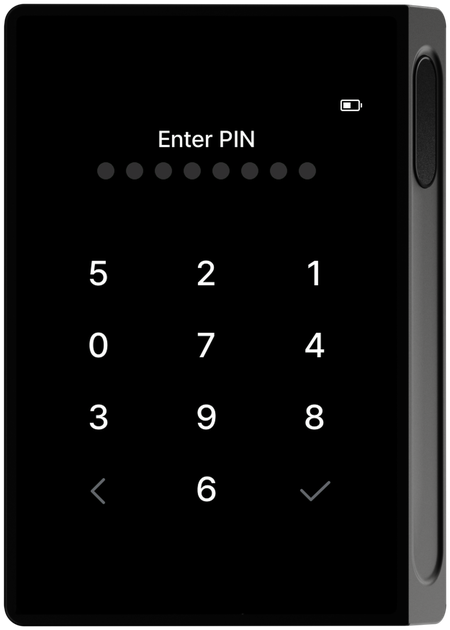
Randomize PIN pad helps prevent shoulder surfing (someone watching you enter your PIN). When you turn this option on (ON) in the Security menu, the digit layout on the PIN entry screen is shuffled at random; when off (OFF), the standard sequential layout (1–9, 0) is always shown.
The digits are shuffled once each time you enter the PIN entry screen. The layout is shuffled the moment you enter the screen and is not reshuffled while you type — the digit positions stay fixed while you enter one PIN, and they are shuffled into a new layout when you leave and return to that screen.
OFF — standard sequential layout (1–9, 0):
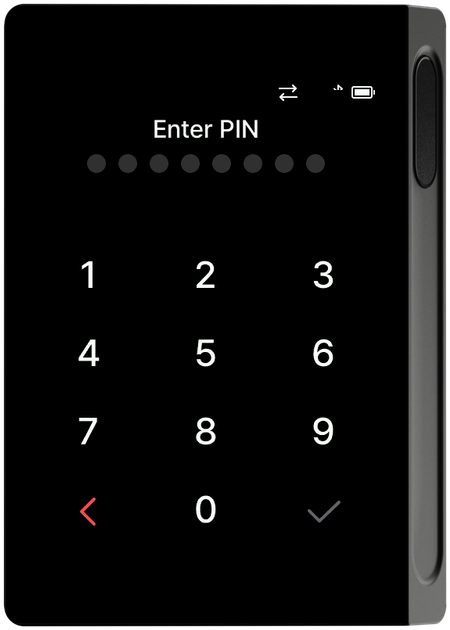
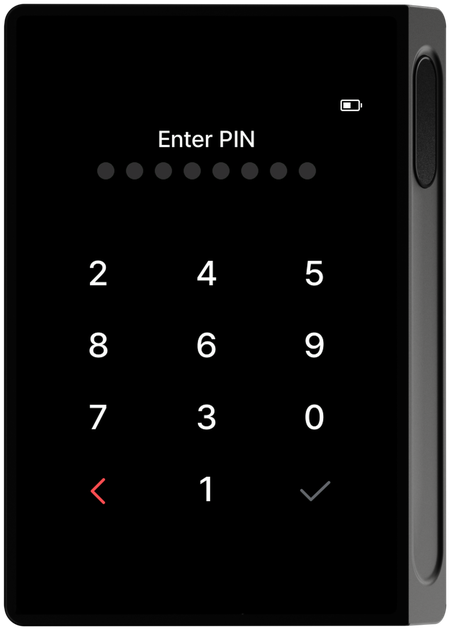
ON — randomly shuffled layout:
Add fingerprint
You can register up to two fingerprints, including the one registered during initial setup. Select Add fingerprint in the Security menu.
Step 1 — Enter your PIN
Enter your PIN to verify it's you.
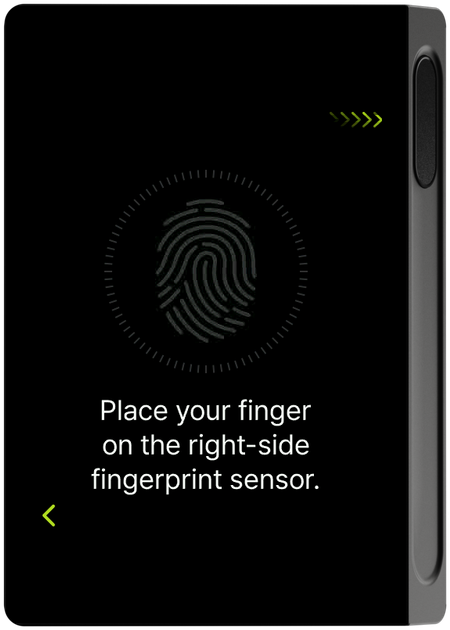
Step 2 — Register the fingerprint
Following the on-screen guide, place the finger you want to add on the fingerprint sensor on the right side of the device repeatedly to register it.
Step 3 — Registration complete
The "Fingerprint registered" screen appears.
An added fingerprint has the same permissions as your primary fingerprint and can also be used to sign transactions. Register only your own trusted fingerprints.
Delete fingerprint
Select Delete fingerprint in the Security menu. (Delete fingerprint appears once at least one fingerprint is registered.)
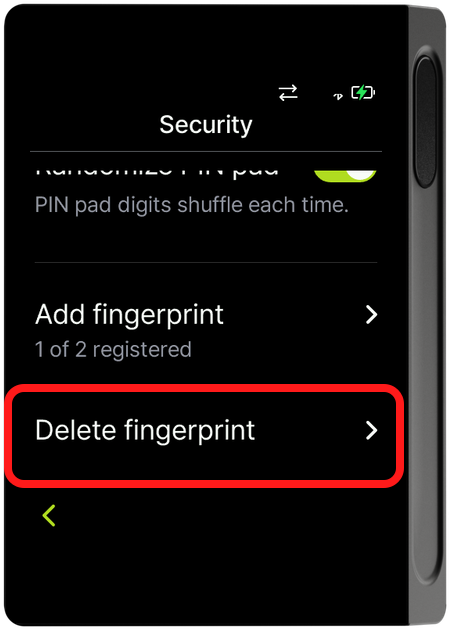
Step 1 — Select the fingerprint to remove
In the fingerprint list, tap the trash icon next to the fingerprint you want to remove. To remove all fingerprints at once, tap "Delete all fingerprints".
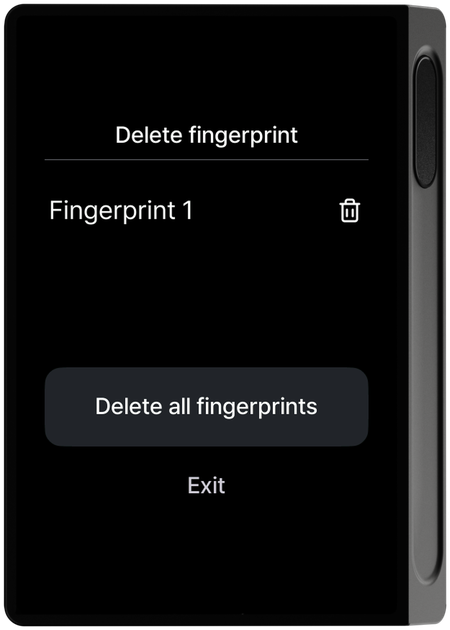
Step 2 — Enter your PIN
Enter your PIN to confirm the removal.
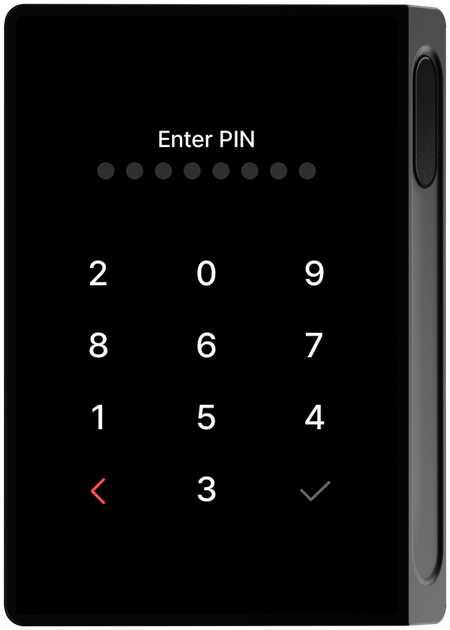
Step 3 — Removal complete
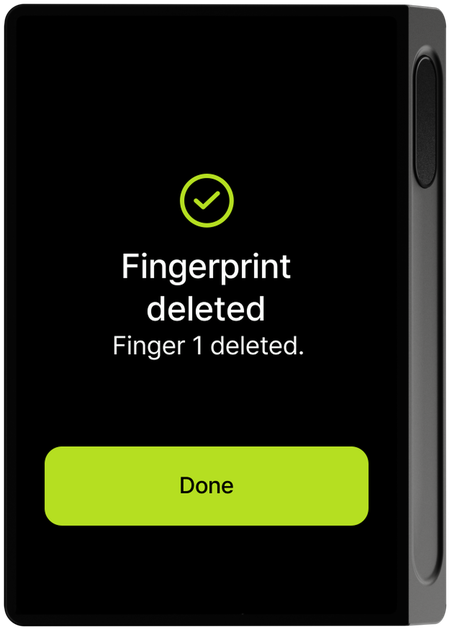
A completion screen appears indicating the selected fingerprint has been removed. Tap "Done" to move to the next screen.
- If you removed one of two registered fingerprints → you return to the fingerprint delete list.
- If you removed the last remaining fingerprint or all fingerprints → you return to the Security menu.
Unlocking with your fingerprint
To use the device again after powering on or after it locks, unlock it with fingerprint authentication. The sensor location and registration steps are the same as the fingerprint registration step in Initial Setup.
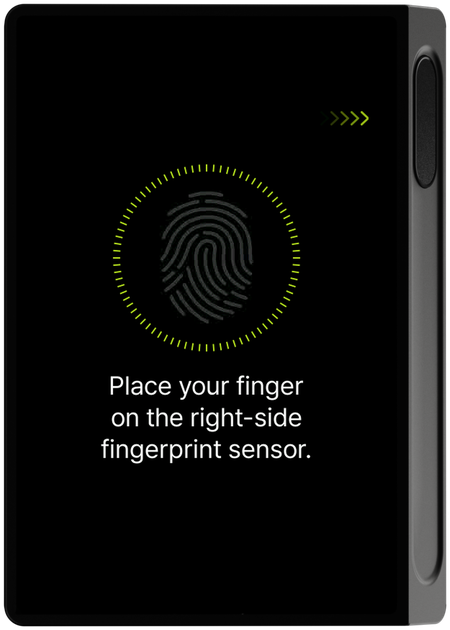
Place your finger on the sensor as guided on screen; the device unlocks and moves to the main screen.
If the fingerprint isn't recognized, the circular gauge decreases by one, and a red message appears at the bottom of the screen telling you the fingerprint wasn't recognized and to reposition your finger. Change the angle and position of your finger and try again.
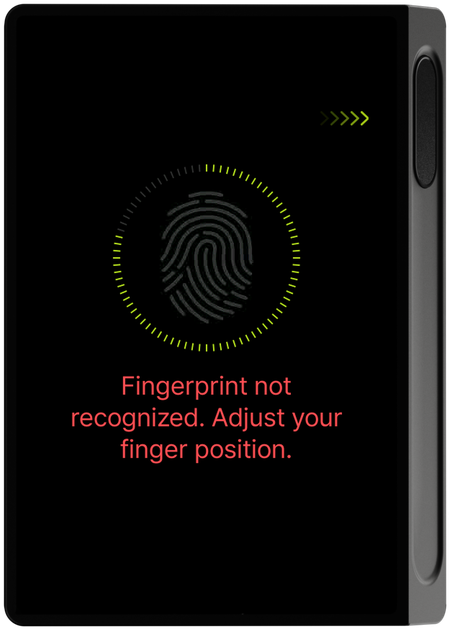
As failures continue, the gauge keeps decreasing, and when only one attempt remains, only a single segment is shown.
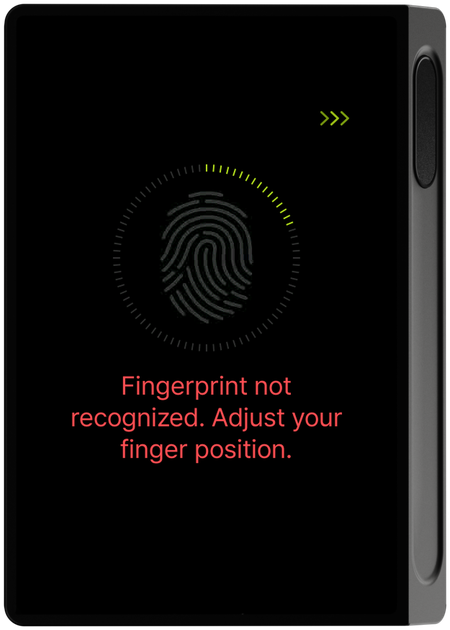
After 5 consecutive fingerprint failures, a lock notice appears briefly and the screen automatically switches to PIN entry. Enter your PIN to unlock.
After 5 consecutive fingerprint failures, you must unlock with your PIN. If you enter the wrong PIN 10 times in a row, the device automatically resets itself for security.