Initial Setup
Before you begin
This guide walks you through powering on a newly purchased DCENT X and creating your first wallet. Before you start, have the R3covery NFC backup card included in the package ready. You will back up your recovery words to this card during setup.
This document assumes you are creating a new wallet. To restore a wallet you used before, see Recovering your wallet.
Step 1 : Power on and select language
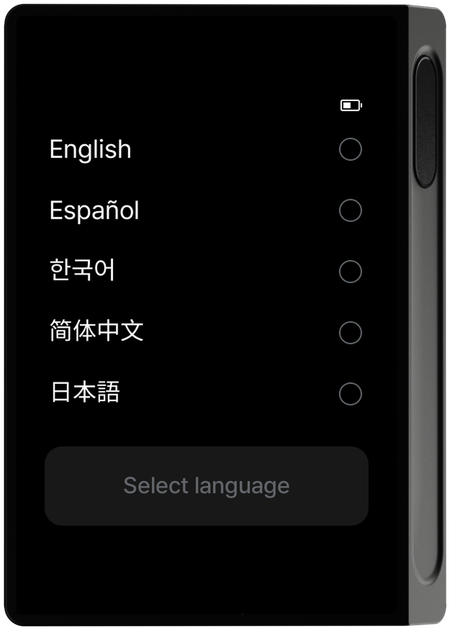
Press the power button to turn on DCENT X, then select the language you want to use. Supported languages are English, Spanish, Korean, Chinese (Simplified), and Japanese.
Step 2 : Connect the mobile app and verify authenticity
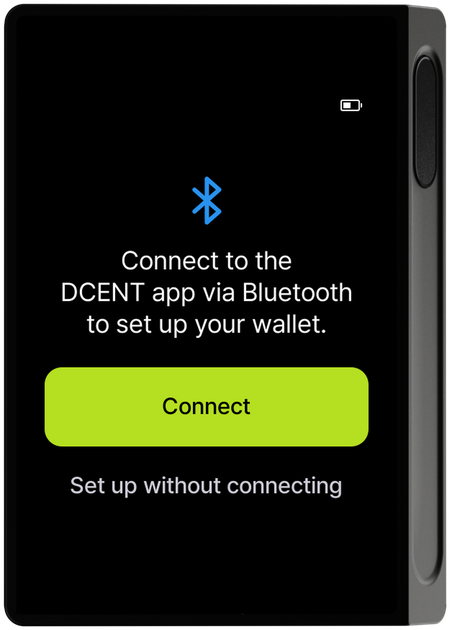
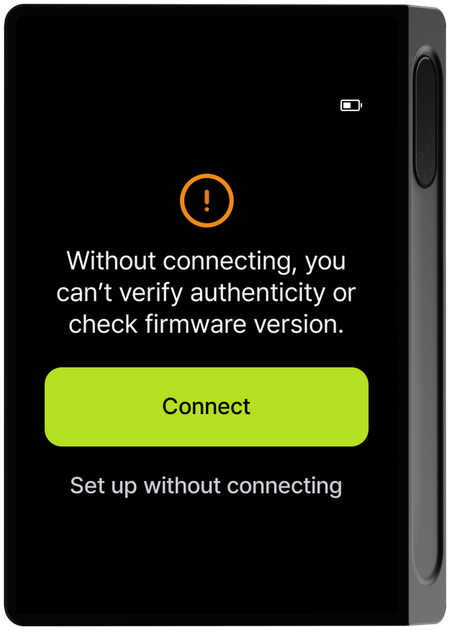
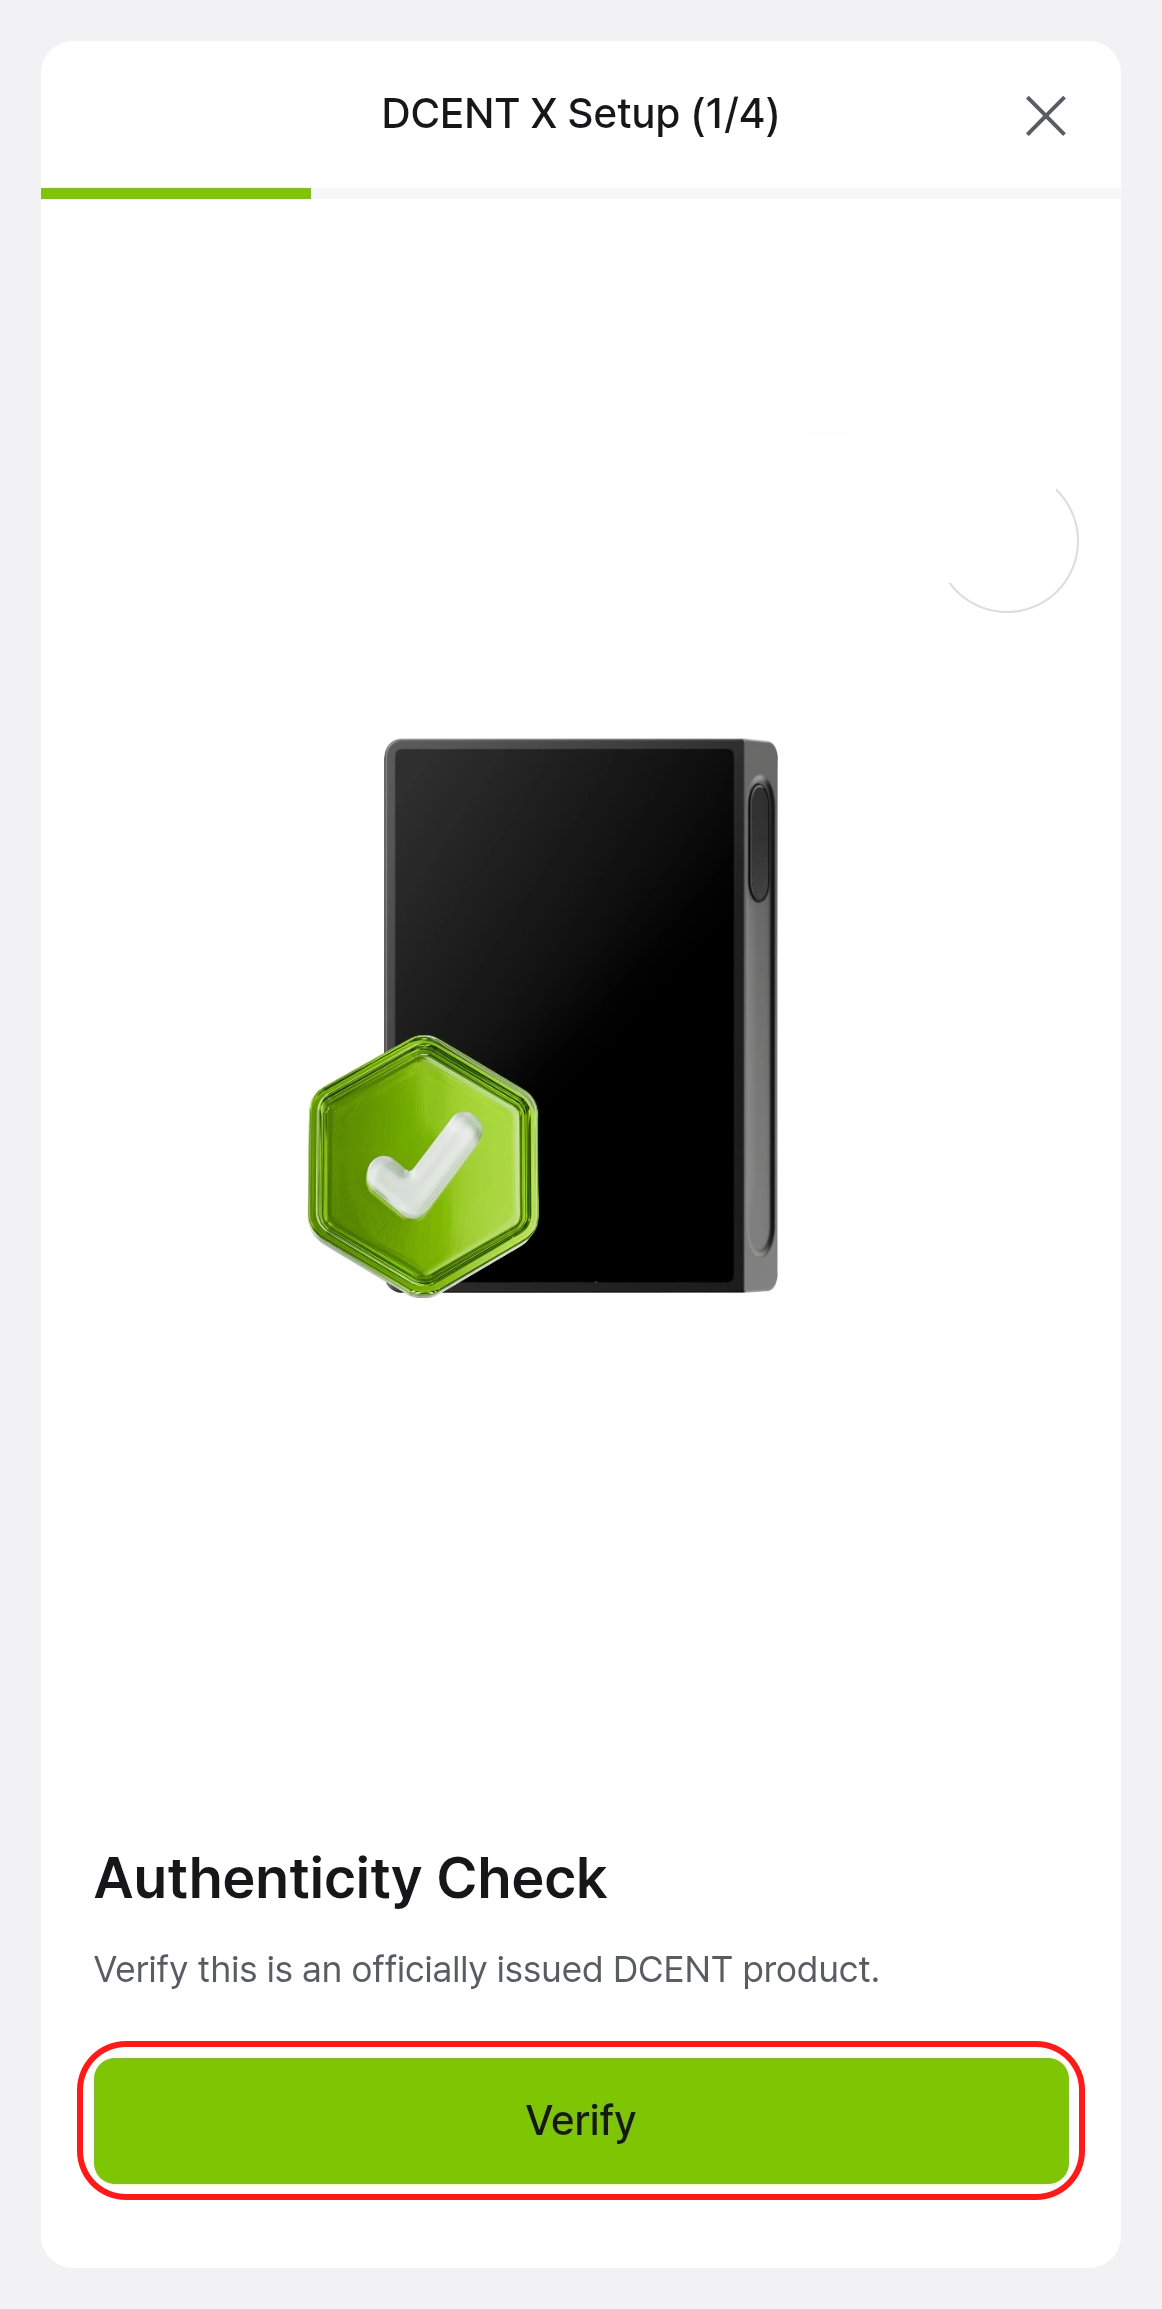
Scan the QR code shown on the device with the DCENT mobile app to connect over Bluetooth (BLE) and run the Genuine Check. You can proceed without connecting, but connecting is recommended so the Genuine Check can run. (For details, see Connect with the mobile app.)
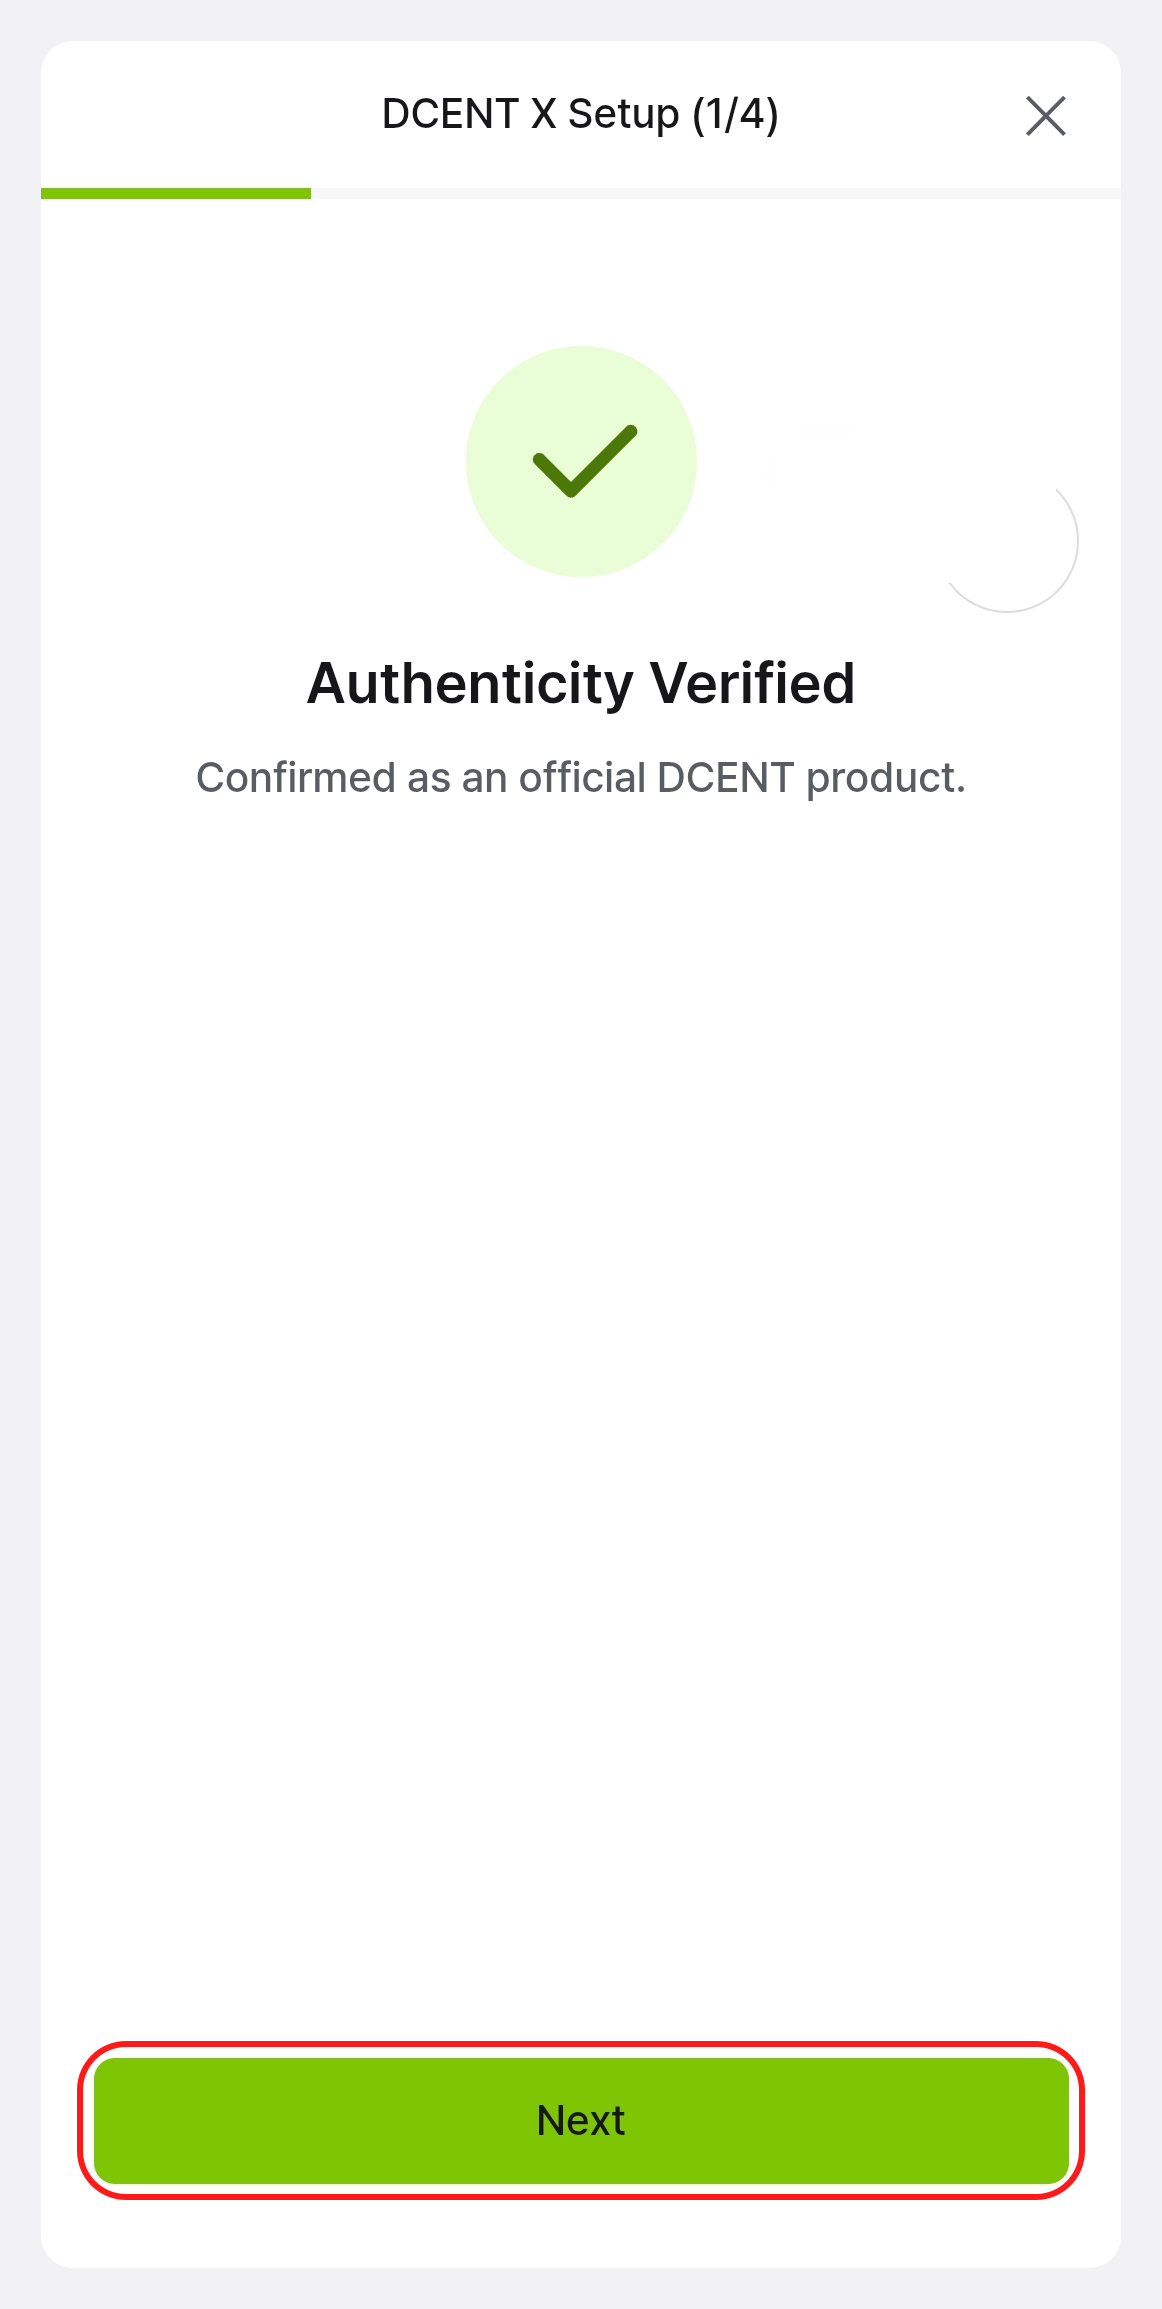
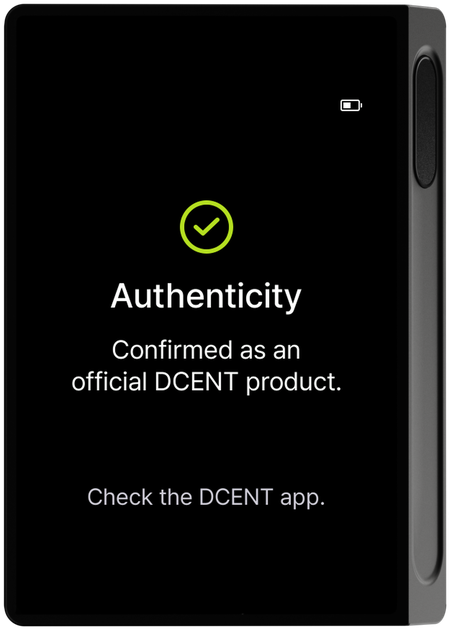
Once connected, tap "Verify" in the app to confirm the device is an official DCENT product, then tap "Next" to continue. When the check completes, the device screen also shows "Genuine Check complete".
When there is a problem with the Genuine Check
- First failure : A "Genuine Check error" screen appears with a "Reboot" button. Tap it to reboot the device and retry the Genuine Check.
- Second failure : The screen switches to "Genuine Check failed" and cannot be retried. Tap "Power off" to turn off the device and contact support from the DCENT app.
- Connection lost : If the Bluetooth connection drops during the check, reconnect from the app and the check resumes automatically without any extra action.
Learn the controls
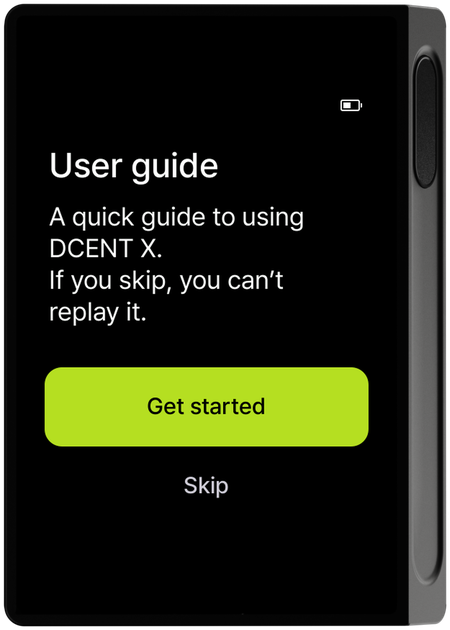
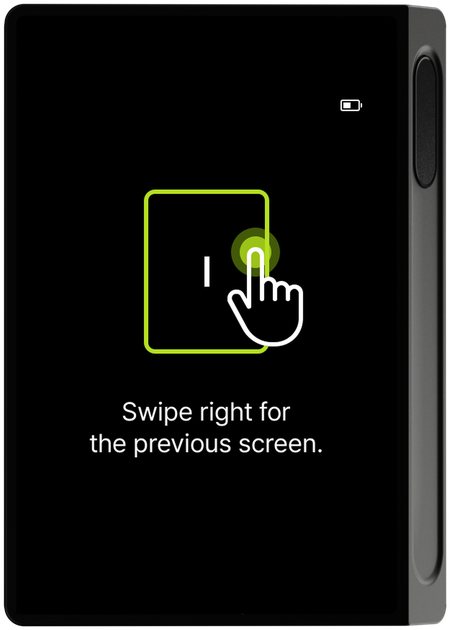
DCENT X is operated by touch, not buttons. In the user guide that follows, learn the basic swipe directions first (you can skip it). Swipe left to go to the next screen and right to go to the previous screen; this stays the same after setup.
Step 3 : Create a wallet and set up security (PIN & fingerprint)
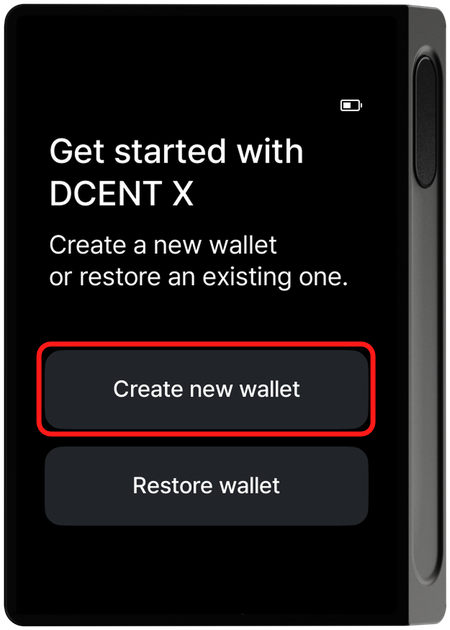
Select "Create new wallet"
On the device's "Get started with DCENT X" screen, tap "Create new wallet". Since this is a newly purchased device, select create new wallet; to restore a wallet you used before, see Recovering your wallet.
Set a PIN (4–8 digits)
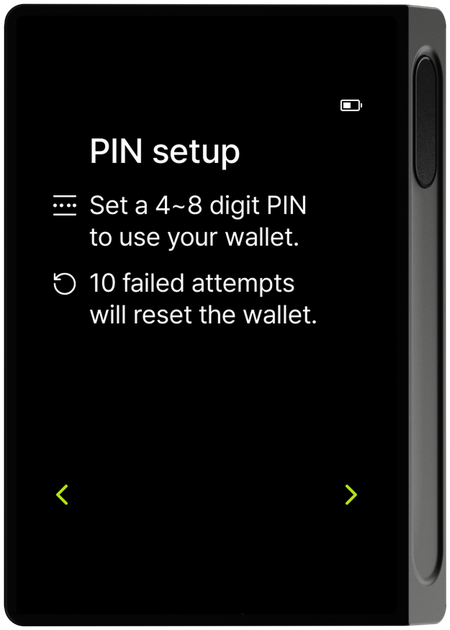
Set a 4–8 digit PIN to unlock your wallet. The PIN setup screen explains that you set a 4–8 digit PIN and that entering the wrong PIN 10 or more times resets the wallet.
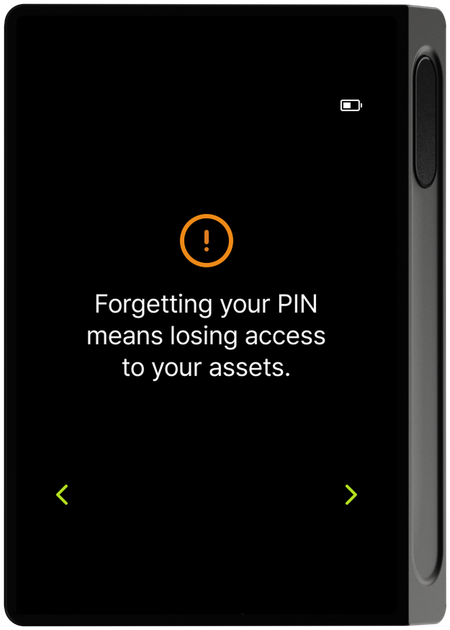
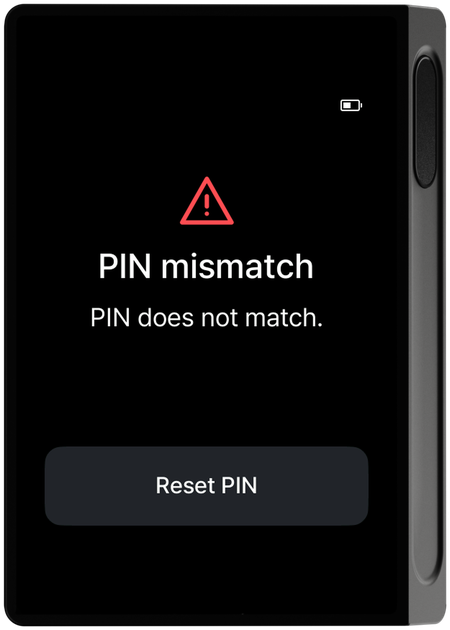
Enter the PIN on the number keypad, then enter the same PIN again on the confirmation screen to confirm they match. If the two PINs don't match, a "PIN mismatch" screen appears; tap "Reset PIN" to start over.
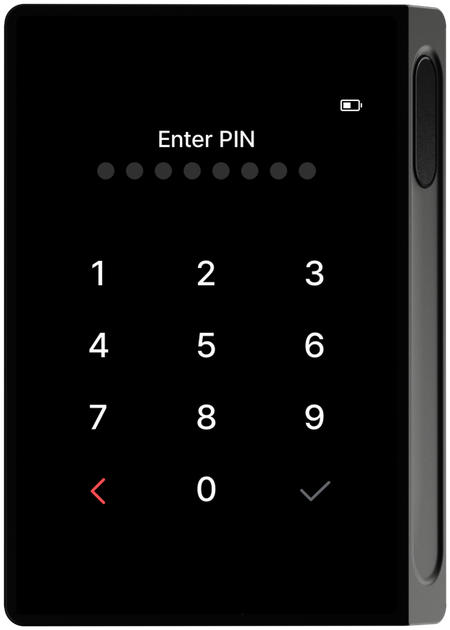
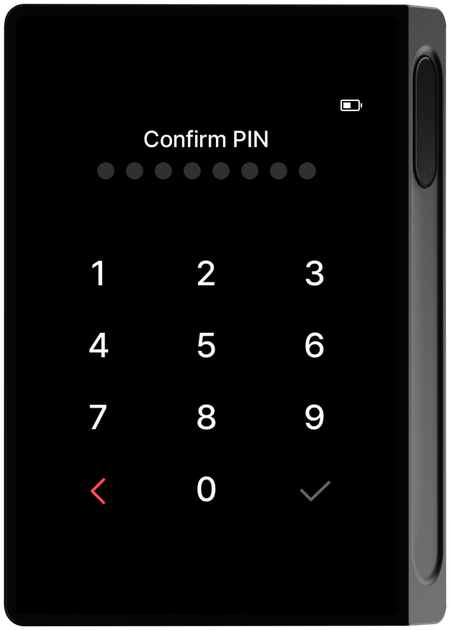
If you set fewer than 8 digits, a "This is a simple PIN" notice may appear. For better security, use a longer PIN when possible. You can also turn on the "Random PIN pad" option, which shuffles the number layout each time to prevent shoulder-surfing, later under Settings > Security.
Register fingerprints (up to 2)
When you select fingerprint registration on the guide screen, a screen appears asking you to place your finger on the fingerprint sensor on the right side. Follow the on-screen guide and touch the same finger repeatedly.
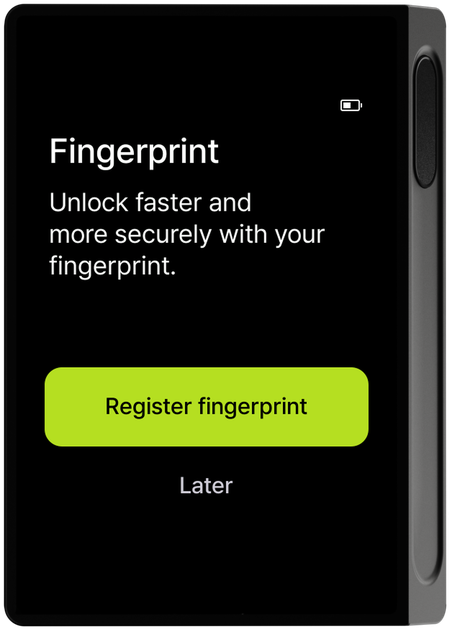
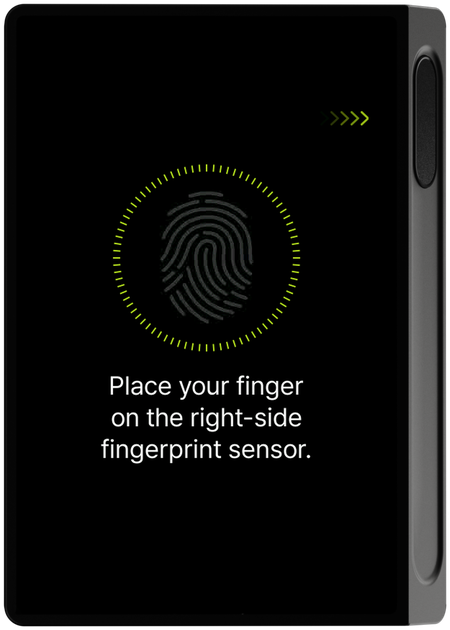
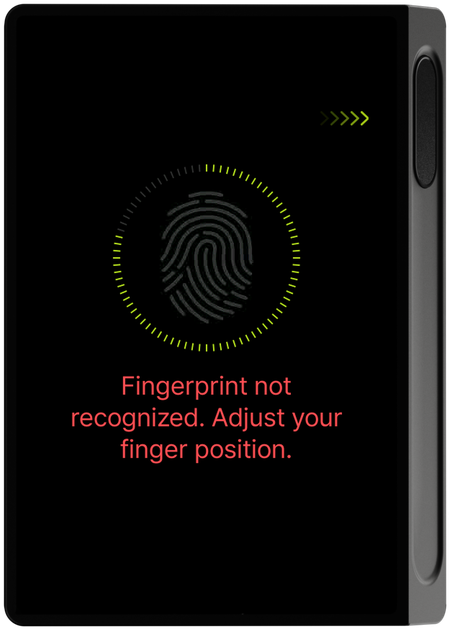
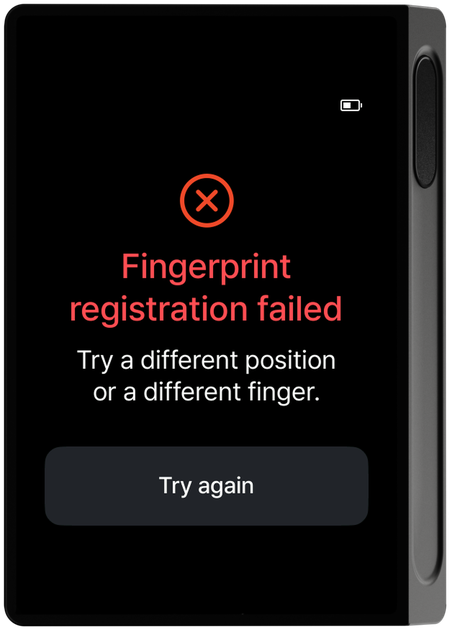
If your fingerprint isn't recognized well, a message asks you to reposition your finger. If registration fails, a "Fingerprint registration failed" screen appears with "Register again"; reposition your finger or use a different finger and try again.
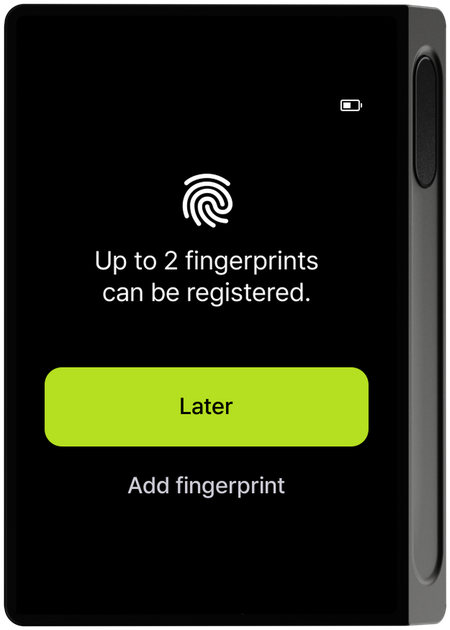
When registration is done, you're asked whether to register another fingerprint; tap "Later" to skip. You can register up to 2 fingerprints, and add or delete them later under Settings > Security.
Step 4 : Back up your wallet (R3covery card and recovery words)
After you finish setting the PIN and fingerprint, before the new wallet is created, guidance about creating a new wallet, the R3covery card, and the passphrase is shown in order.
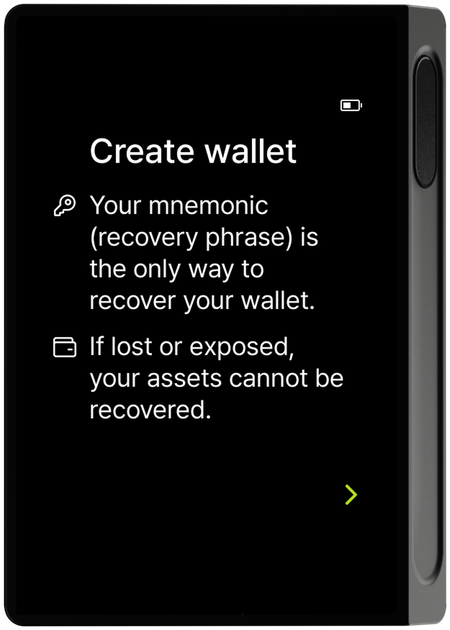
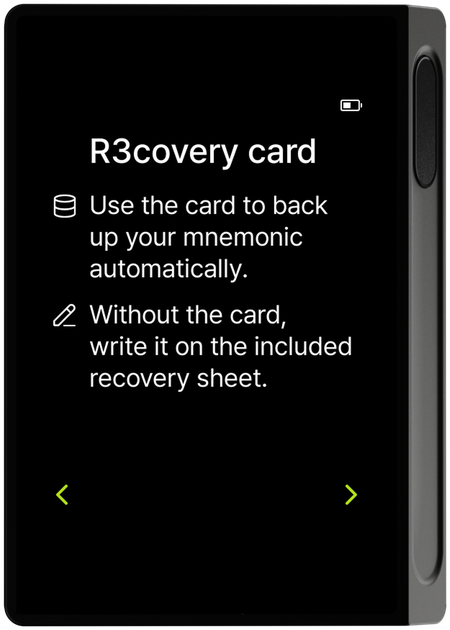
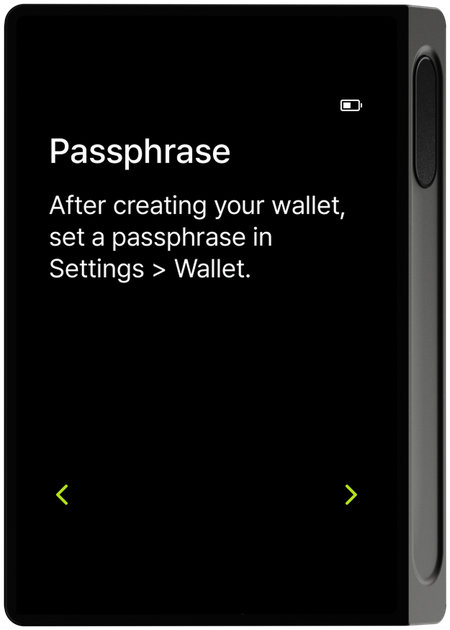
The passphrase (25th word) is not set during initial setup; you can set it later under Settings.
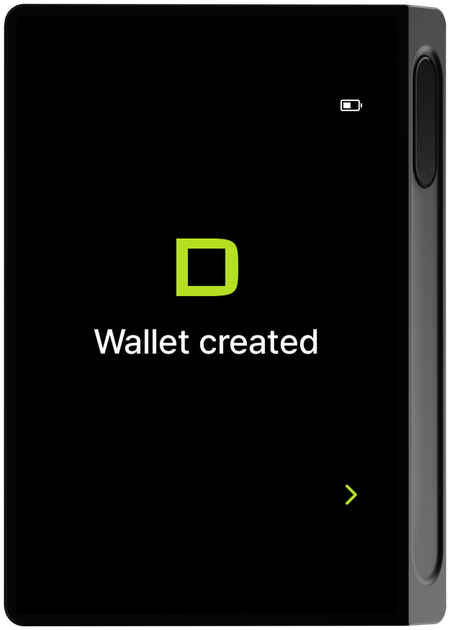
Once you review the guidance, the new wallet is created and a completion screen appears.
Back up to the R3covery card
Following the guide, tag the R3covery card to the back of the device; a screen appears showing the card serial and asking whether to register it as a new card.
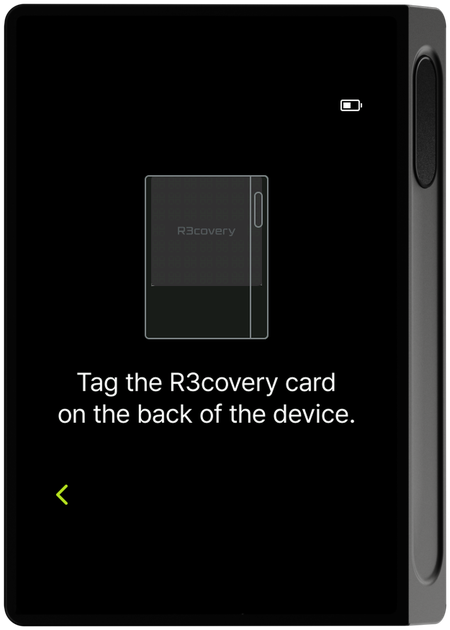
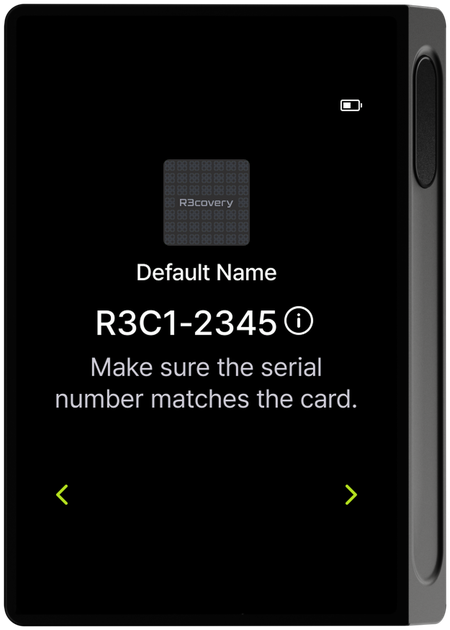
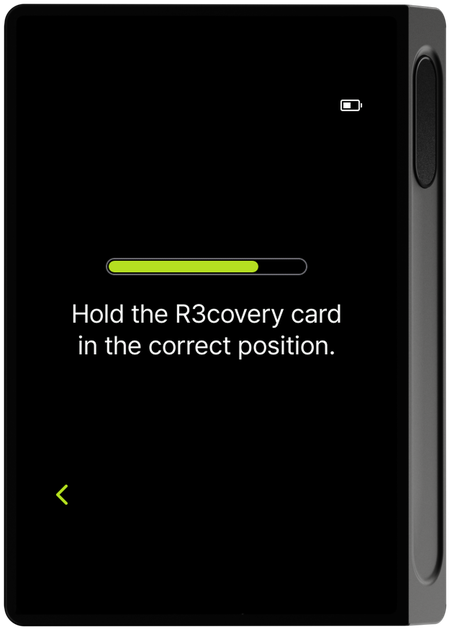
If the card isn't recognized well, a "Keep the R3covery card in the correct position" notice appears. Hold the card in the correct position on the back of the device until reading is complete.
Set a card-only 6-digit PIN (separate from the device PIN) that you'll use to access the card. If you forget the R3covery PIN, you can't use the card, so be careful not to forget it.
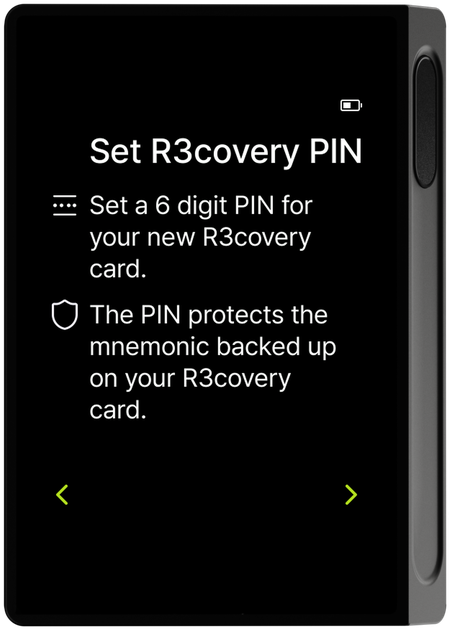
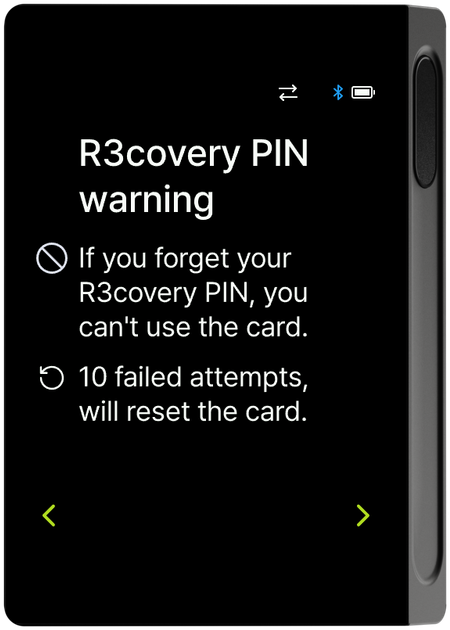
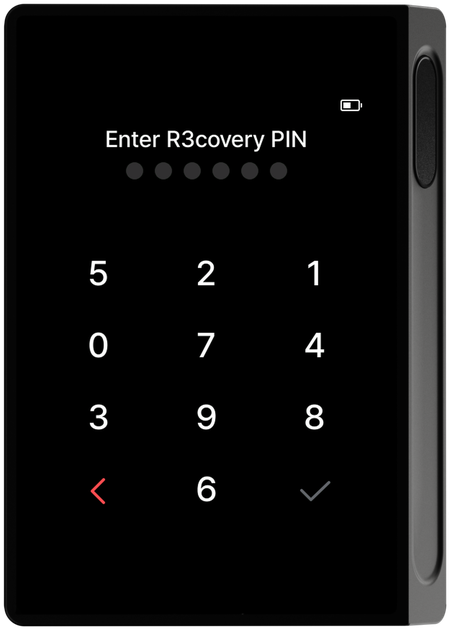
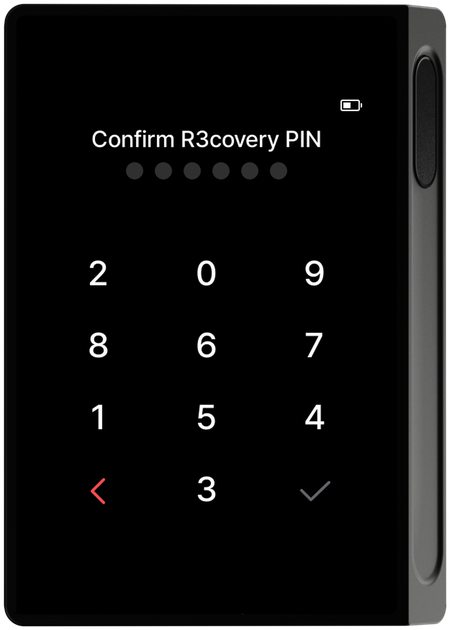
Enter the 6-digit PIN on the number keypad, then enter the same PIN again on the confirmation screen to confirm they match.
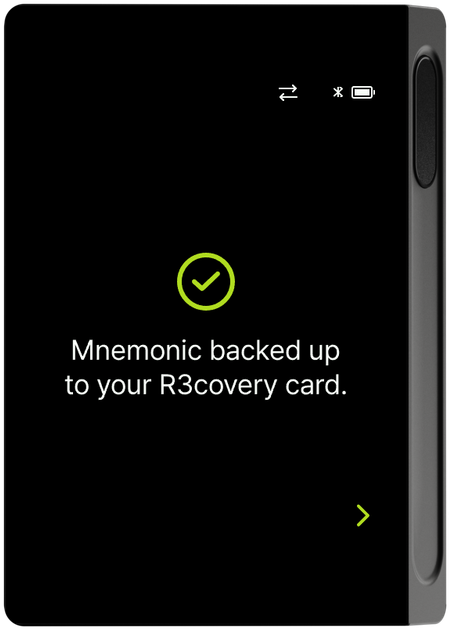
Then tag the R3covery card to the back of the device once more to back up the recovery words to the card; a completion screen appears.
Back up and verify your recovery words
To prepare in case you forget the R3covery card PIN or lose the R3covery card, we recommend checking and writing down your recovery words (mnemonic).
On the recovery-words guide screen, select "View now"; a security warning appears, followed by the 24 recovery words shown 4 at a time in order. Write down the words in the exact order shown.
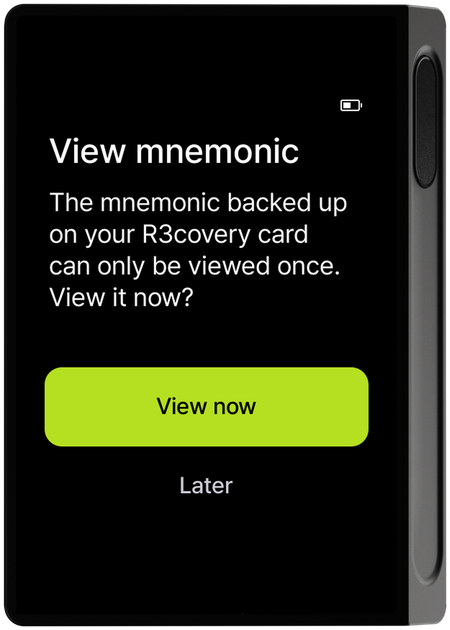
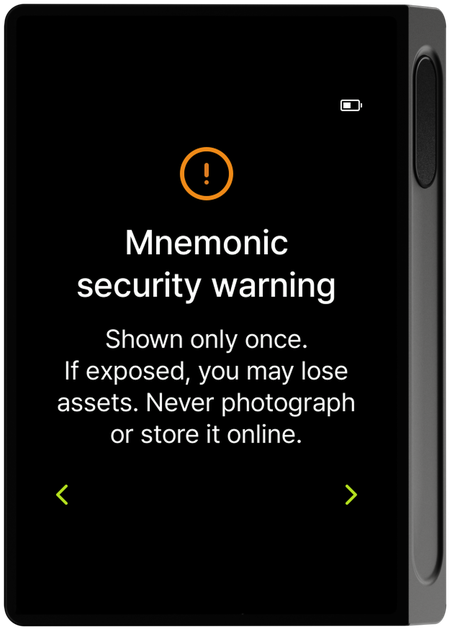
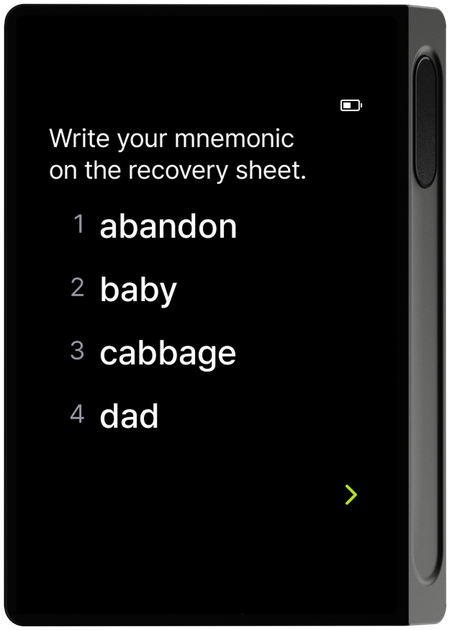
The recovery words (24) are shown only once when first created and cannot be viewed again afterward. Record them in the exact order and store them safely. If you lose both the recovery words and the R3covery card, your wallet cannot be recovered, and you are responsible for the loss. Do not photograph or save the recovery words as an image.
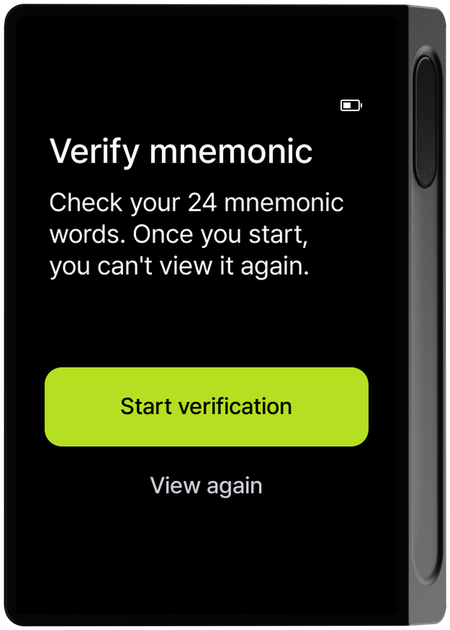
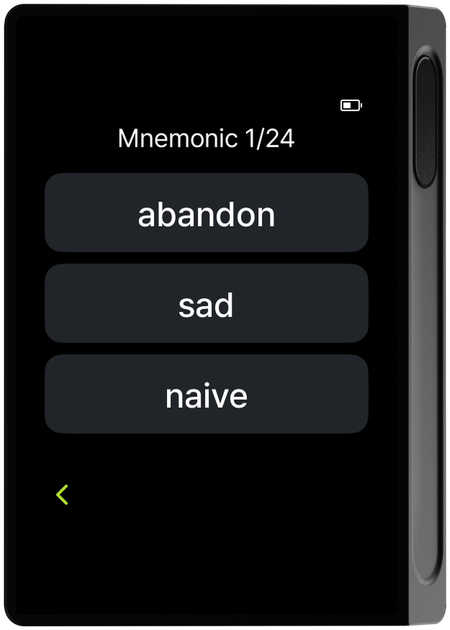
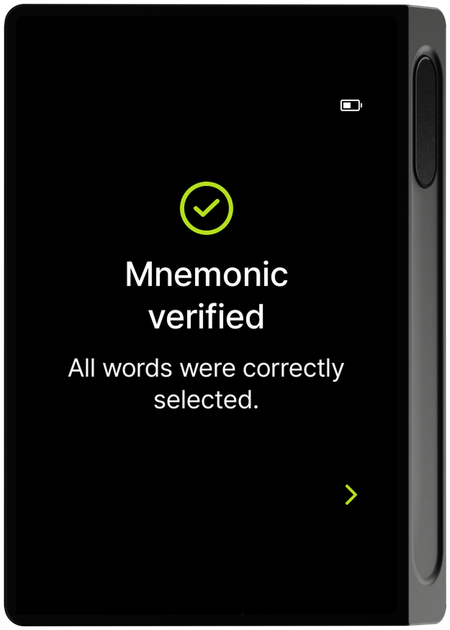
On the verification screen that follows, tap "Start verification", and from the 3 words shown, select the word that matches your record and its order (for example, if word 1 is abandon, select abandon on screen). When you select every word correctly, a verification success screen appears.
Step 5 : Initial setup complete
When everything is done, the "DCENT X setup is complete" screen appears.
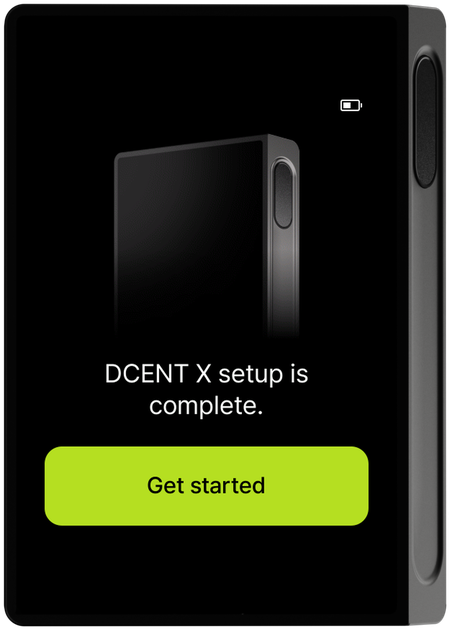
Tap Get started to play a short tutorial on using the Control Center once, then the home screen appears (see Control Center for details). Now, refer to Connect with the mobile app to connect DCENT X to the app and add your accounts.