Signing a transaction
With DCENT X you can see the transaction details on the device screen and check them before you approve. Which network it goes to, where it's going, and how much is being sent are all shown item by item, so you can see with your own eyes what you're signing — and catch phishing that tampers with the app screen.
Step 1 — Review the transaction details
When you request a signature from the mobile app, the signing detail screen appears on the device. Review everything from the items at the top (Network, Type) down to the ones at the bottom (To, Amount, Fee).
Scroll down through the details — the Confirm button appears only once you reach the end.
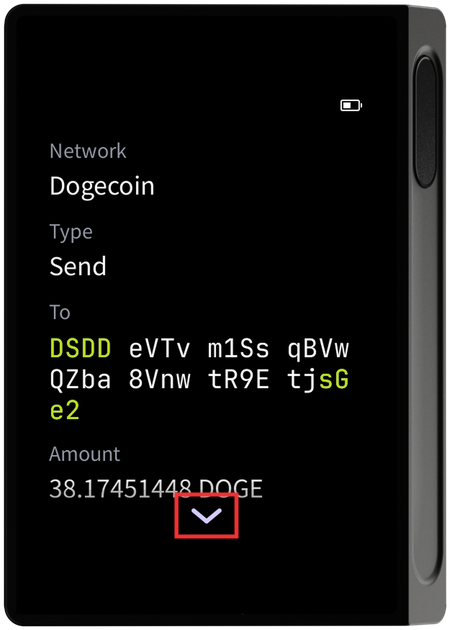
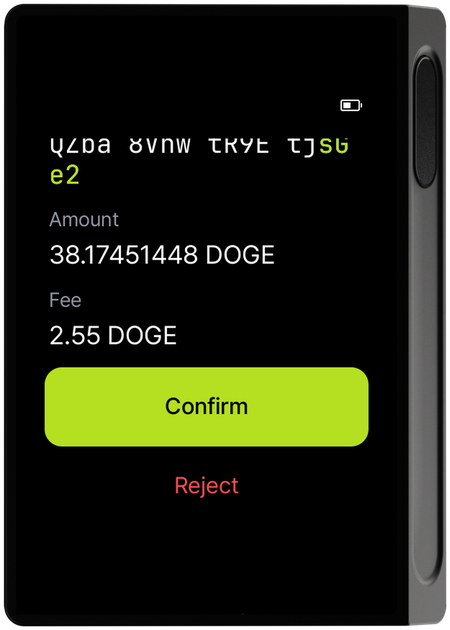
Here's what each item means. The example above is a transaction sending 38.17451448 DOGE.
| Item | What it means | Example |
|---|---|---|
| Network | The blockchain network the transaction runs on | Dogecoin |
| Type | The kind of transaction. Send means you're sending coins | Send |
| To | The address receiving the coins. Check that it matches the address you meant | DSDD…tjsGe2 |
| Amount | The quantity being sent, with its unit | 38.17451448 DOGE |
| Fee | The fee paid to the network that processes the transaction. It is charged separately from the amount | 2.55 DOGE |
When you send a token, the fee is paid in the base coin of that network. For example, sending a token on the Ethereum network shows the fee in ETH.
Confirm and Reject sit at the very bottom of the item list. They aren't fixed on screen — they're inside the same scrollable area as the items, so if the content is long you have to scroll all the way down before the buttons appear.
Step 2 — Confirm the signature
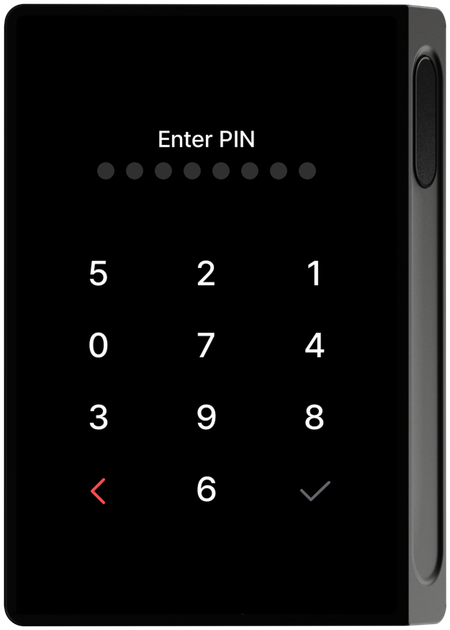
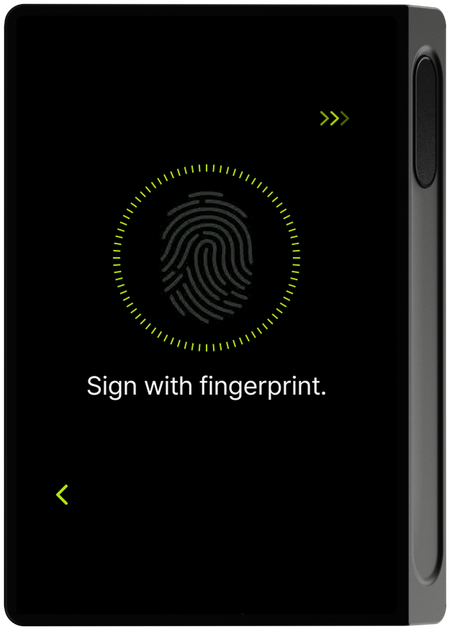
Once you've reviewed every item, tap Confirm at the bottom and enter your PIN. If you've registered a fingerprint, a fingerprint prompt may appear instead of the PIN screen.
Step 3 — Signature complete
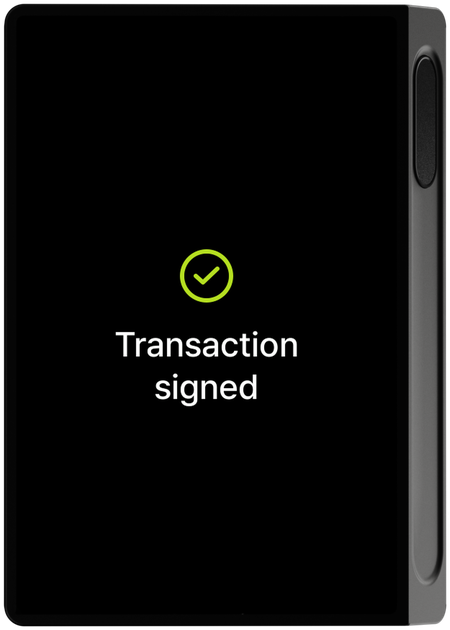
When signing finishes, the completion screen appears. The signed transaction is sent back to the mobile app and broadcast to the network.
Always confirm that the items on screen match the transaction you actually intend to send before you sign. If even one of them differs from what you expect, don't sign — reject it.
What to check before signing
- The recipient address — compare it in full, to protect yourself from phishing.
- The amount and fee — make sure the unit (coin symbol) and figures match what you intended.
- Any unexpected item — if anything doesn't look right, reject the transaction and start the request again from the mobile app.